What Is an Amazon Brand Store?
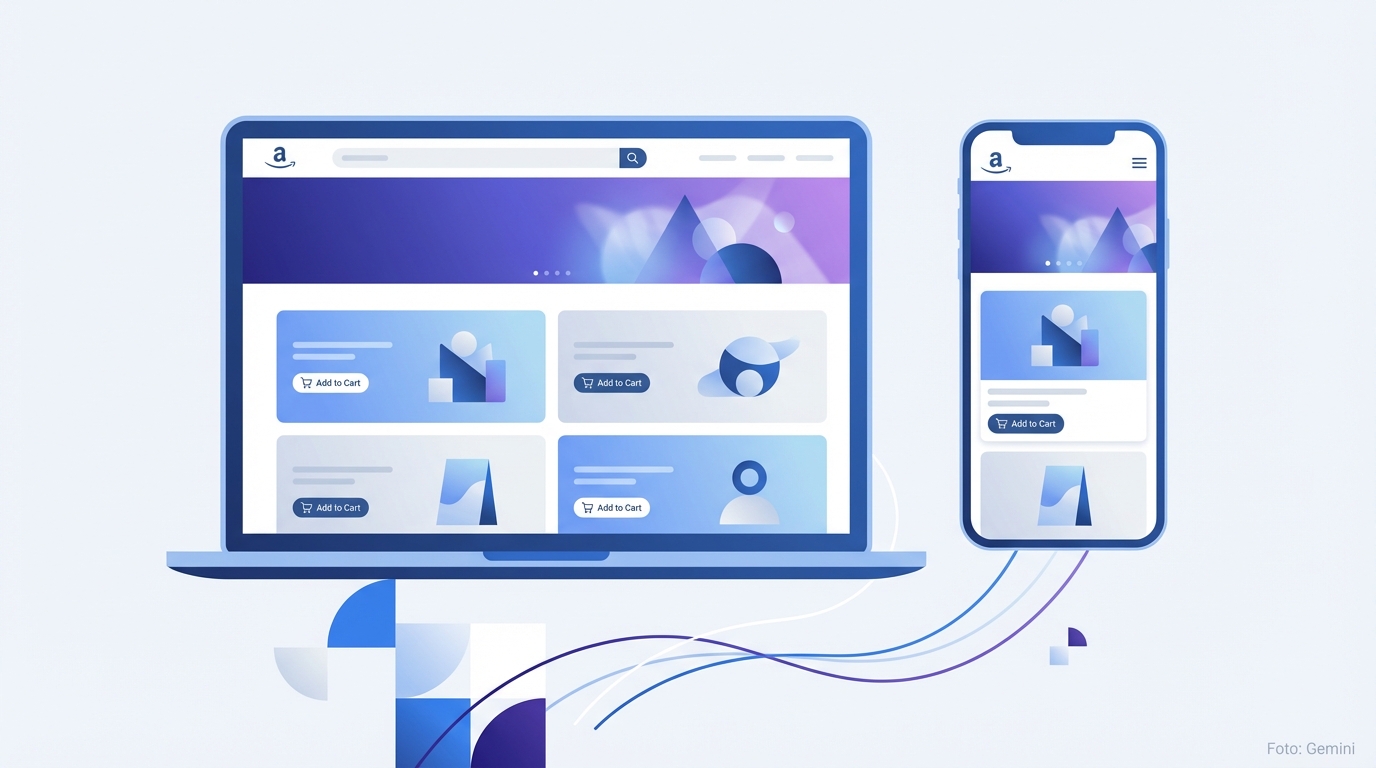
An Amazon Brand Store is a dedicated area within the Amazon marketplace that you can set up for free as a brand owner. It works like a mini web shop directly on Amazon: your own URL, your own navigation, your own look – but without third-party advertising and without competitor products.
Anyone who clicks on your Brand Store arrives in an environment you control entirely. No Sponsored Product ads from other sellers, no 'Similar Items' widget to distract visitors. The customer is with you – and stays with you until they buy or leave the store.
Every Brand Store gets its own URL in the format amazon.co.uk/stores/[your-brand-name]. This URL is permanently usable: in Sponsored Brands ads, on Instagram, in email campaigns, or on your website. This lets you direct traffic straight into your brand world – bypassing the competitive pressure of search results.
Prerequisite: Amazon Brand Registry
Before you can create a Brand Store, you need to register your brand in the Amazon Brand Registry. Registration itself is free, but requires a registered trademark – in the UK, Germany, Austria, Switzerland, or another recognised national trademark register.
You submit the application via brand.amazon.co.uk. Amazon reviews the information and cross-references it with the trademark register. This process typically takes two to six weeks, depending on how well the data from the trademark register matches your Amazon account details.
With Brand Registry, you also gain additional benefits beyond the store: A+ Content for product detail pages, access to Brand Analytics, enhanced brand protection, and the ability to run Sponsored Brands ads. For private label sellers, registration is therefore not a nice-to-have – it is a clear strategic foundation.
- Registered trademark (UK, DE, AT, CH, or another recognised register)
- Professional Amazon selling account
- Application submitted via brand.amazon.co.uk
- Processing time: approx. 2–6 weeks

Plan Your Structure Before You Start Designing
The most common mistake when building a Brand Store: jumping straight into design without thinking through the structure. The result is usually an overcrowded homepage, illogical navigation, and customers who cannot find what they are looking for.
Instead, start with a simple page plan. Consider: how many product categories do you have? Which products are your bestsellers? Are there seasonal collections? Do you want a dedicated page for deals or new arrivals?
A seller with 30 products across three categories needs a different structure from a manufacturer with 200 SKUs across eight product groups. As a rule of thumb: a homepage plus one page per main category is sufficient for most sellers. Sub-pages are only worthwhile when a category contains more than 15 to 20 products.
- Homepage: brand story, top sellers, current promotions
- Category pages: one page per product line
- Sub-pages: only for large ranges (more than 15 products per category)
- Special pages: deals, new arrivals, bundles – manageable seasonally
Creating an Amazon Brand Store: Step by Step
You access the Store Builder in Seller Central under Stores → Manage Stores. There you select the brand for which you want to create the store – if you manage several brands, all registered brands will be listed here.
First, you set the header. It appears on every page of your store and contains the brand logo and navigation bar. The header image is the first thing a visitor sees – choose a high-quality brand image that immediately communicates your positioning. Avoid product-heavy images and any text that becomes illegible on small screens.
Next, you build the pages. For each page, you choose a template and fill it with tiles. The tiles determine the layout and content: whether image, video, product, or text. Using drag and drop, you can move tiles, adjust their size, and add new ones.
Finally, you submit the store for approval. Amazon checks whether all content complies with the Store guidelines. This typically takes one to three working days. Once approved, the store goes live – and the store URL becomes active immediately.

The Three Templates: When to Use Which
Amazon provides three predefined templates. Each has a different focus – choose a template based on the goal of the page, not its appearance.
Marquee is best suited to entry-level pages and branding purposes. It offers space for large images, short text, and a clear message. Ideal when you want to introduce a new collection or tell the brand story.
Showcase puts products and related content front and centre. Minimal text, plenty of product imagery, clean and clear. This template works well for category pages where customers first get an overview and then dive deeper.
Product Grid displays products in a grid view. This is the right choice for sub-pages where customers are actively comparing several products. The cleaner the product photography, the better this template performs.
Those who want full control should start with the blank template. No predefined layout – you decide which tiles to place where. The effort is greater, but the result can be considerably more individual.
- Marquee → Homepage, branding pages, campaign landing pages
- Showcase → Category overviews with a product focus
- Product Grid → Product selection pages with many SKUs
- Blank → Full creative freedom for experienced users
Using Tiles Effectively: From Bestsellers to Deals
Tiles are the building blocks of your Brand Store. Each tile occupies a defined section of the page – from the full page width to a quarter of the width. The mix of differently sized tiles determines the visual weight and user flow on the page.
You add product tiles by ASIN or keyword search. They display the product image, name, rating, and Prime badge – and link directly to the product detail page. You can also upload lists of up to 500 ASINs if you want to add many products at once.
The Bestseller tile is practical for anyone who does not want to update their store manually on a regular basis. Amazon automatically selects five of your best-selling products and displays them dynamically. The ranking updates continuously – you do not need to change anything.
Recommended Products work similarly, but in a personalised way: Amazon shows each visitor products from your portfolio that match their purchase history. This increases cross-selling without requiring you to build dedicated pages or layouts.
Deal tiles are time-limited. They are only displayed when an active time-based promotion is running – 'Deal of the Day' or 'Best Deal'. Once the promotion ends, the tile deactivates automatically. Voucher promotions are not shown here, only time-based deals.
Video tiles are often underestimated. Product videos or short brand films noticeably increase dwell time in the store. If you have a professional product video, include it – ideally above the first product row so it is immediately visible.

Brand Store and Sponsored Brands: Getting the Balance Right
Sponsored Brands ads are the most direct connection between paid advertising and your Brand Store. You can set the store URL or a specific sub-page as the destination of your campaign – directing visitors straight into your curated brand world rather than to a single listing.
This has a concrete advantage over single-product landing pages: customers who arrive in the store via Sponsored Brands purchase more products per order on average. Someone landing on a category page immediately sees further options – increasing the likelihood of them buying two products instead of one.
It becomes even more targeted when you link the appropriate sub-page for each campaign. A Sponsored Brands ad for outdoor products links to the outdoor category page. An ad for a seasonal deal links to the deals page. This way, the visitor's expectation matches what they see.
Also make use of the tag function for external traffic. When you share the store link on Instagram, in a newsletter, or on a website, append a store tag. This allows you to see in Store Analytics exactly how much traffic came from which channel – and which channel actually converts.
Store Analytics: What the Numbers Really Mean
In Seller Central, you will find Store Analytics under Stores → Statistics and Insights. Here you can see how many visitors your store had, where they came from, which pages they viewed, and how much revenue is attributed to the store.
Three metrics are particularly relevant: visits, page views per visit, and revenue per visit. If visitors view many pages but purchase little, the navigation may be confusing or the product pages are not convincing. If revenue per visit is high but visitor numbers are low, traffic is the problem – a signal to invest more in external linking or Sponsored Brands.
For traffic sources, Amazon distinguishes between organic marketplace traffic, Sponsored Brands traffic, and external traffic. This breakdown helps you understand which of your marketing activities actually drives visitors to the store – and which only generates clicks on product detail pages.
Page-level data shows which sub-pages receive the most visits. If a category page has little traffic, it is either not prominent enough in the navigation or the products on it are in low demand. In such cases, revise the navigation first before changing the content.
- Total visits: the measure of the store's reach
- Page views per visit: shows whether users stay in the store or leave immediately
- Revenue per visit: the key efficiency metric
- Traffic sources: organic, Sponsored Brands, and external campaigns analysed separately
- Page-level analytics: which sub-pages perform and which are rarely visited
Common Mistakes – and How to Avoid Them
Setting up the store once and never touching it again: this is the most common mistake. A static store quickly loses relevance – bestsellers change, ranges grow, seasonal promotions come and go. Plan at least four store updates per year: the Q4 peak season, summer, spring, and one free slot for short-notice campaigns.
Poor header images are another weak point. Many sellers use product photos on a white background as their header – this looks generic and builds no brand image. Invest in a high-quality lifestyle image that conveys the brand world. No text in the image: on mobile devices, it is usually illegible.
Too little structure is just as problematic as too much. Listing all 80 products on a single page overwhelms the customer. Placing every product on its own sub-page makes the navigation unnecessarily complex. The structure should reflect the customer's way of thinking, not the seller's.
Do not neglect mobile optimisation: more than 60 per cent of Amazon traffic comes from smartphones. Every tile, every image, every piece of text must work on a small screen. Use the mobile preview in the Store Builder before submitting – and check the store on your own smartphone after it goes live.
- Never updating the store after launch → relevance drops, conversion suffers
- Using product photos as the header → generic, no branding effect
- All products on one page → customers cannot find their way around
- Developing only on desktop, never testing on mobile → poor UX for over 60% of visitors
- No tags for external traffic → Analytics provides no actionable source data
Frequently Asked Questions
How much does an Amazon Brand Store cost?
Setting up and using an Amazon Brand Store is free. You need a professional selling account and a registered trademark in the Amazon Brand Registry. Additional costs only arise if you run Sponsored Brands ads that link to the store.
How long does it take for a Brand Store to be approved?
Amazon typically reviews newly submitted and updated stores within one to three working days. For larger updates or if content does not comply with the guidelines, it may take longer. Plan changes well in advance of any important campaign.
Can I create a Brand Store without any design experience?
Yes. The Store Builder uses drag and drop and ready-made templates. You do not need any technical knowledge or design software. What you do need: professional product photos, a clean brand logo, and a lifestyle image for the header.
How many pages can an Amazon Brand Store have?
There is no official limit on the number of pages. Use as many as you need for clear navigation – typically a homepage plus three to eight category pages, supplemented by sub-pages for broader ranges.
Can I direct external traffic to the Brand Store?
Yes. The store URL works like a normal link and can be used anywhere – in Google Ads, on Instagram, in email campaigns, or on a website. For accurate tracking, use the tag function in the Store Builder to cleanly separate traffic sources in Analytics.
Are other brands' products displayed in the Brand Store?
No. No ads from other brands and no 'Similar Items' recommendations appear in the Brand Store. The store belongs to you alone – this is one of its central advantages over standard product detail pages, where third-party advertising is the norm.
Do I need a separate store for each Amazon marketplace?
Yes. If you are active on several Amazon marketplaces (e.g. UK, DE, FR), you must create a separate store for each one. The content and structure can be similar, but must be created and approved individually for each marketplace.
Start free with Sellercore
With Sellercore, you keep track of prices, performance, and competition – so your Brand Store focuses on the right products from day one.
Sign up now